Connecting your Shopify store to Facebook and Instagram is not just a technical step — it’s a foundational one. When done correctly, it allows you to sync products, run effective ad campaigns, and measure results accurately.
This guide breaks down the process, helps you avoid common mistakes, and ensures your setup supports your advertising goals.
Why proper integration matters
A successful Shopify–Meta connection unlocks several key features:
-
Product sync: Your catalog is shared with Commerce Manager, enabling Facebook Shop, Instagram Shopping, and dynamic ads.
-
Reliable data tracking: The Meta pixel and Conversions API (CAPI) work together to track user actions on your site.
-
Improved campaign performance: Your ad sets can use real-time catalog data and behavioral signals for optimization.
If your ads aren’t tracking purchases or dynamic content is missing, chances are the integration is broken — or incomplete.
You can learn more about the importance of the Facebook pixel and how to set it up properly here.
What you need before setup
Before jumping into setup, make sure you have the right foundation. Otherwise, you’ll run into onboarding errors later.
Shopify prerequisites
-
A live, non-password-protected store.
-
Basic Shopify plan or higher.
Meta prerequisites
-
A business Facebook Page.
-
A Meta business portfolio that owns the Page.
-
Admin permissions for the Page and business portfolio.
For teams, each staff member must use their own Facebook login with full control permissions.
Step-by-step setup: Shopify to Facebook and Instagram

1. Add the sales channel
From your Shopify admin:
-
Go to Settings → Sales channels.
-
Click Shopify App Store.
-
Search for Facebook and Instagram.
-
Click Add app, then select Add sales channel.
2. Start setup flow
Click Start setup and follow the prompts:
-
Log in with your Facebook account.
-
Connect your business assets (Page, ad account, catalog).
-
Accept Meta’s terms and conditions.
-
Enable commerce features, Meta pixel, and CAPI.
3. Choose the right data sharing level
In Shopify admin:
-
Go to Settings → Customer events.
-
Select Enhanced or Maximum data sharing.
Maximum is recommended — it activates both browser- and server-side tracking for better attribution coverage. To understand how attribution windows affect ad performance, check out this piece on Meta attribution delays and accuracy.
After setup: key things to check
Once you’ve completed the setup, verify everything is working as expected.
-
Products are synced in Meta Commerce Manager.
-
The Meta pixel is active (check with Meta Pixel Helper).
-
Conversions API is sending data (verify via Events Manager).
-
Your catalog is linked to Facebook Shop and Instagram Shopping.
If you notice a mismatch between ad clicks and sales, it may be due to attribution lag or tracking discrepancies. Learn how to handle these gaps by reading why Facebook Ads Manager data may not match Shopify.
Common mistakes — and how to avoid them
Even if you follow the setup process, you might run into roadblocks. These are the most frequent causes of failure.
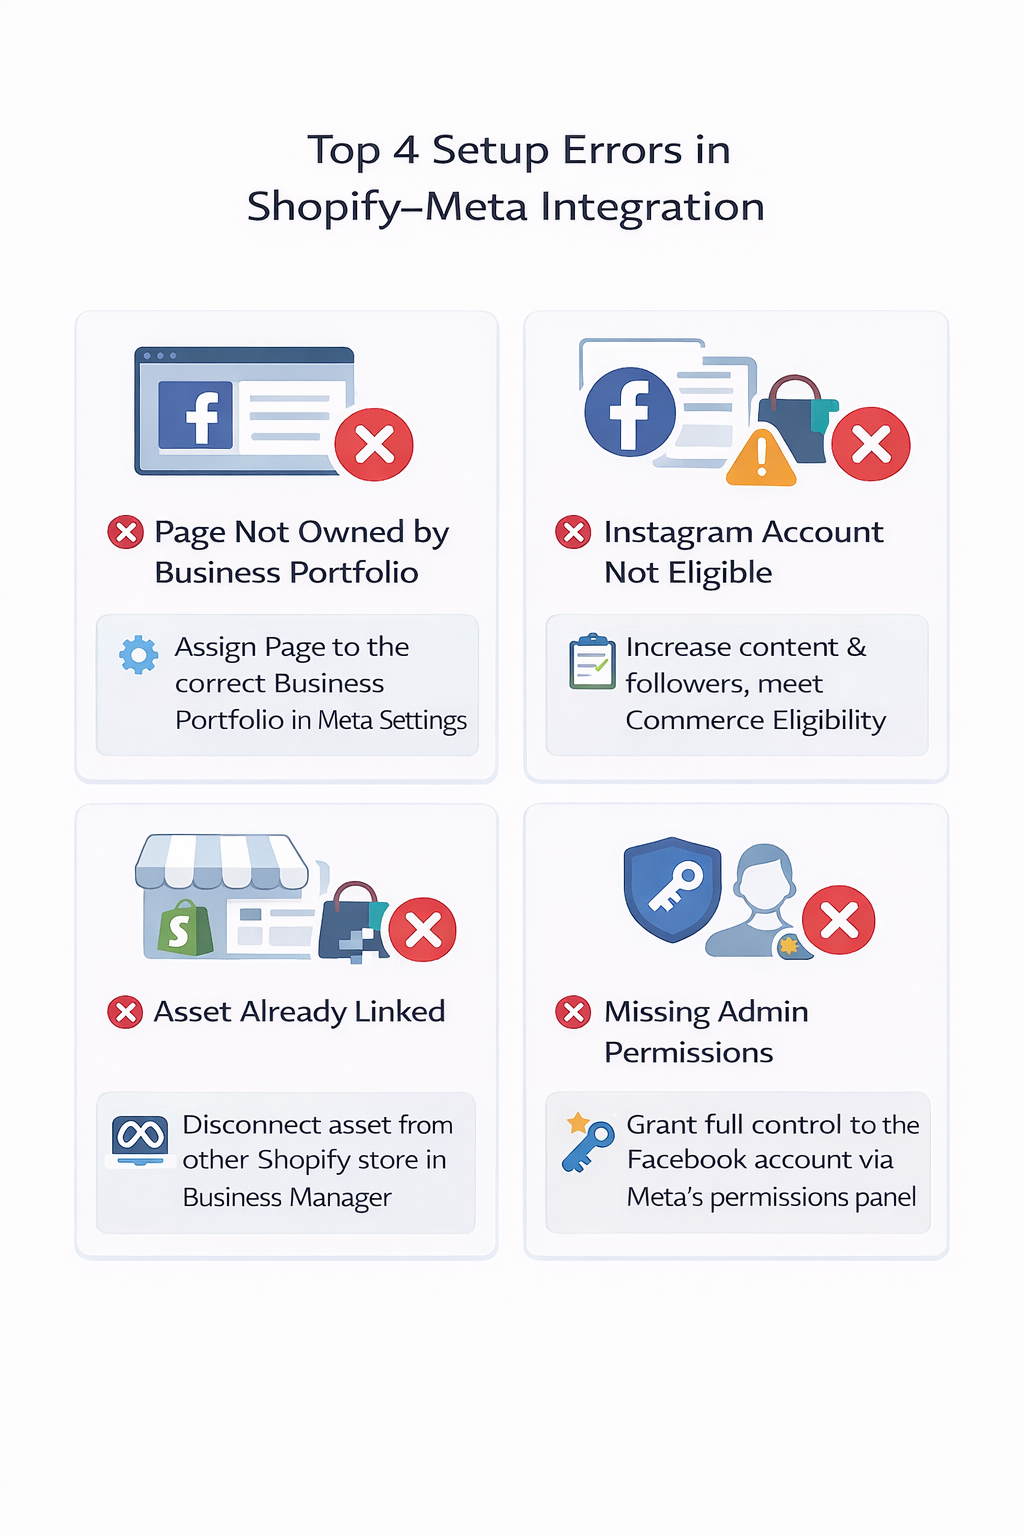
1. Page not owned by business portfolio
Issue: Your Facebook Page doesn’t appear during setup.
Fix: Open Meta Business Settings and transfer Page ownership to the same portfolio you’re connecting.
2. Instagram account lacks presence
Issue: Setup fails with a message about account eligibility.
Fix: Ensure your Instagram business account is active, has followers, and meets Meta’s commerce requirements.
3. Asset is linked to another store
Issue: You get an error saying the asset is already in use.
Fix: Disconnect it from the other store via Meta Business Manager, or confirm whether it’s still linked elsewhere.
4. Permissions are missing
Issue: Setup blocked due to admin access errors.
Fix: Ensure the Facebook account you’re using has full control of both the Page and business portfolio. Editor access isn’t enough.
Tips for a smooth experience
A few small tweaks can prevent bigger issues:
-
Use desktop browsers during setup. Mobile apps and embedded browsers often block Facebook login windows.
-
Update your tax settings in Shopify before selling via Facebook or Instagram. Meta no longer handles tax calculation for checkout.
-
Connect your ad account only when prompted. Creating one too early can sometimes block setup.
Final checklist
Before launching campaigns, make sure you’ve:
-
Completed setup through the Facebook and Instagram app in Shopify.
-
Enabled Maximum data sharing for tracking accuracy.
-
Synced your full product catalog to Commerce Manager.
-
Verified account ownership and admin roles on Meta.
If something doesn’t work, start by checking the Shopify Status page or Meta’s Business Help Center for known issues. For better campaign tracking, also consider understanding conversion delay effects and how they shape optimization decisions.